03
Replacing the keyboard on a HP Pavillion DV6000
Posted under Laptops by ifoundafixThe other day while browsing the Internet I Found A Fix for a recent problem I was having. The issue is described as follows.
To remove and replace the keyboard on some laptops can involve some work. Here is the procedure to remove the keyboard on a HP Pavillion DV6000.
To remove the keyboard there are a number of screws on the underside of the laptop that need to be released first.
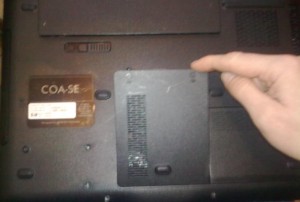
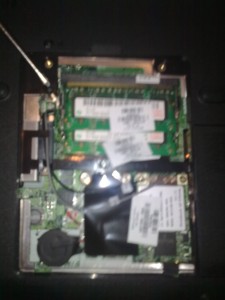
Open the compartment for the RAM. This lid is secured with two screws.
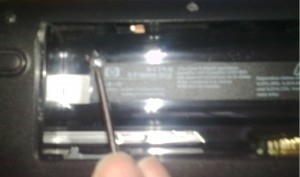
Inside the battery compartment is a single screw that needs to be released. There is a keyboard logo beside this screw that identifies this.
Next remove the battery and inside the battery compartment are five screws that need to be undone.
There are three main ones in a row. These are are located as shown here. Unlike the other screws, they do not have the keyboard logo. This is because they secure a section of the bezel above the keyboard which needs to be released.
One on the left
One in the centre
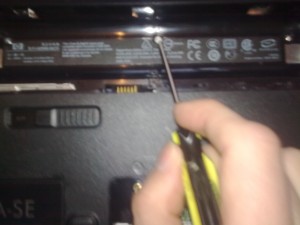
One on the right
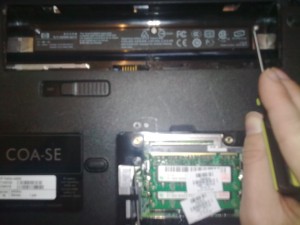
The remaining two have a keyboard logo beside them.
One is near the lower middle of the compartment, near the battery contacts
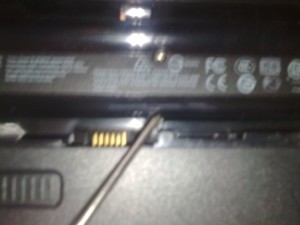
The other is to the lower right
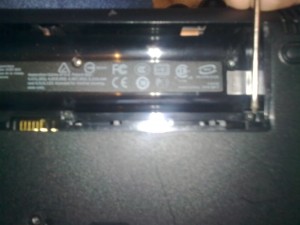
Next turn over the laptop and the keyboard can be taken out.
Remove the section of the bezel above the top of the keyboard. Use a flathead screwdriver to lever this off. This must be done firmly, but not with too much force.
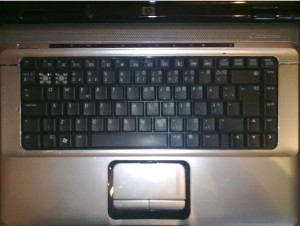
When this section is released, the keyboard can be lifted out.
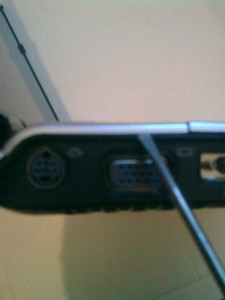
This section of the bezel can be released, but it can not be lifted far s there are interface leads attached for the power switch and function keys. However this is enough to allow the keyboard to be lifted out
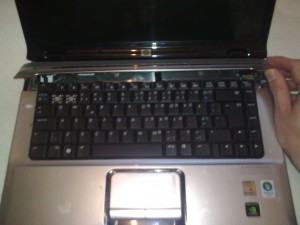
First lift the keyboard from the top side first like this:

Then it will pop out. Be careful as there is a ribbon interface to the main board, which should not be pulled or stressed
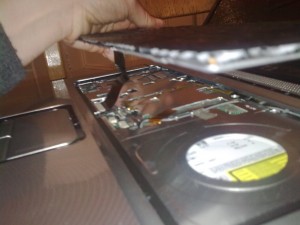
This ribbon interface is secured with a black wedge into a white socket
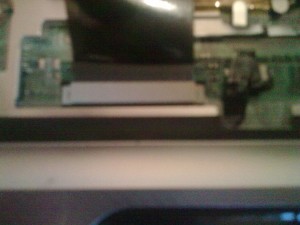
With the following step it is very important not to use too much force.
Either with your finger or a fine screw driver, slide the wedge out. From the side carefully push this slightly one side…
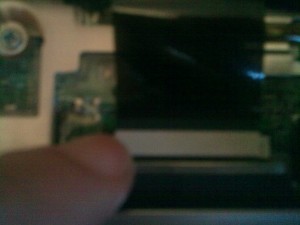
….and then from the other side
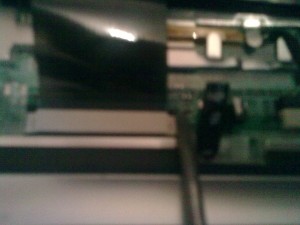
It may be necessary to push alternately on each side, gradually pushing on each side in turn.
The ribbon will be released
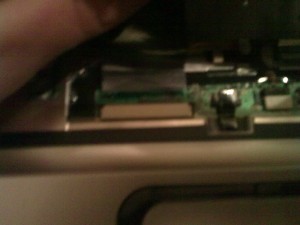
When fitting a replacement keyboard, slide the ribbon over the wedge into the socket. Then the ribbon is secured by pushing the wedge back.
The ribbon needs to be precisely in place. If it goes in crooked or at an angle, the interface will not make proper contact and the the keyboard will not work.
Follow the procedure in reverse order to secure the keyboard and replace each of the screws on the reverse of the laptop.
If the keyboard does not work then the most likely cause is that the interface ribbon cable is not making contact or it is not secured properly. For this reason, you should boot up the laptop before re-assembling it fully. Put the battery back in and power it on. This may save a bit of work if the keyboard does not work for you at the first attempt.
This site is awesome, I have never worked on a PC or Laptop. Needed to replace a keyboard on an HP laptop, you made it easy. Thanks
Goodness, thanks for the post. I just got back from a week in the UK, Sweden, and Estonia, and my keyboard completely failed me while in England. I came back to Germany, read your post and now it’s working like a charm (as you can see, I’m typing this out! Otherwise I would have to use Windows On-Screen Keyboard…oh god)!
Danke Schön!
Add A Comment